So, you just completed a much needed but exhausting renovation project. Now what?
Well, renovation clean-up is usually the last step of your home improvement projects.
This blog will tell you why post-construction clean-up should be a top priority to reduce the risk of airborne irritants, and also will give you some useful home renovation clean-up tips.
Construction Dust Health Risks
If during your renovation project there has been sanding or sawing of wood, tile, or drywall, prolonged exposure to construction dust that’s not thoroughly removed can have a serious impact on your health.
Consistent exposure to these irritants can cause respiratory problems and trigger allergy symptoms.
Whether you’re using one or multiple home service contractors talk to each one about what you can expect when it comes to the actual work and clean-up.
A reputable contractor will be more than happy to explain the job and how they intend to do a thorough clean-up (including construction dust) after any project is complete.
Kitchen and bathroom renovation projects are often considered the hardest areas to clean during a builder’s clean for several reasons:
Complexity and Detail
- Variety of Surfaces: Kitchens and bathrooms have a mix of surfaces (tile, grout, stainless steel, glass, wood, etc.) that each require different cleaning methods and products.
- Intricate Fixtures and Fittings: Both areas have many detailed fixtures such as faucets, handles, hinges, and light fixtures which are often small and difficult to clean thoroughly.
Dirt and Debris Types
- Stubborn Residues: These renovations often leave behind tough residues like grout, silicone, adhesives, paint splatters, and plaster dust. These materials can be particularly stubborn and require specialized cleaning techniques and tools.
Accessibility Issues
- Nooks and Crannies: Kitchens and bathrooms have many hard-to-reach areas, such as behind appliances, under sinks, and around toilets. These tight spaces can accumulate dust and debris but are difficult to access and clean properly.
- Cabinets and Drawers: Both areas typically have numerous cabinets and drawers that need to be emptied, cleaned inside and out, and reorganized, adding to the complexity of the cleaning process.
Hygiene and Safety
- Hygiene Concerns: Bathrooms, in particular, are areas that need to be sanitized properly to ensure they are safe and hygienic, requiring additional time and effort.
Utility Connections
- Appliances and Plumbing: Kitchens have appliances that need to be moved and cleaned behind, while bathrooms have plumbing fixtures that require careful cleaning without damaging the plumbing.
Heavy Use Areas
- High Traffic: Both kitchens and bathrooms are high-traffic areas in a home, meaning they accumulate more dirt and grime compared to other rooms, which can be exacerbated during renovations.
Final Touches
- Final Touches: Post-renovation cleaning needs to be thorough to remove all fine dust particles that settle on surfaces long after the main debris has been cleared, requiring meticulous attention to detail.
Overall, the combination of complex surfaces, stubborn residues, difficult-to-reach areas, and the necessity for a high level of hygiene makes cleaning newly renovated kitchens and bathrooms particularly challenging for most people.
Home Renovation Clean-up Tips
The same risks associated with long-term exposure to construction dust are also present when tackling the initial clean-up.
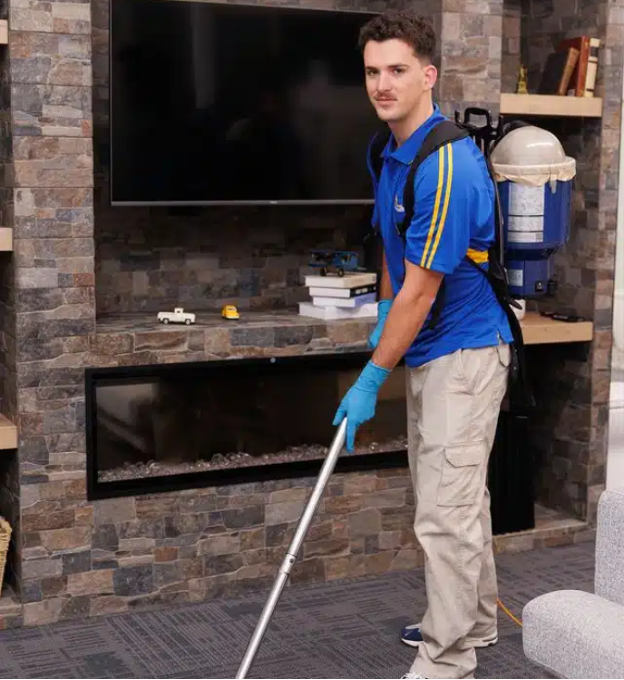
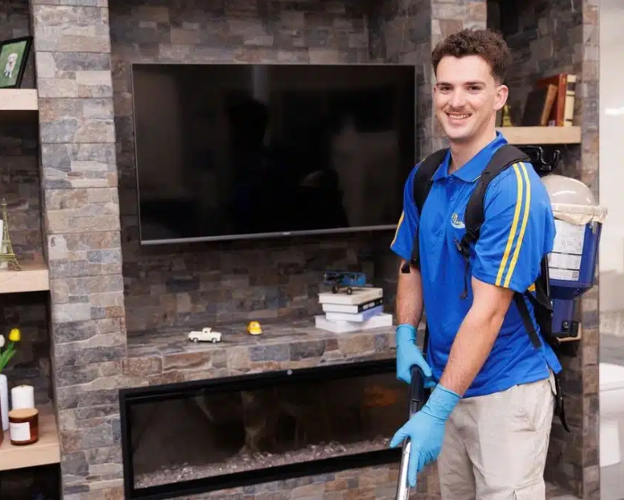
If you have current or past respiratory health concerns or are sensitive to dust, consider hiring professionals to help remove construction dust from your living spaces.
Post-construction clean-up requires protective gear to guard your eyes and lungs from the particle pollution.
We strongly recommend wearing personal protective equipment (PPE), including:
- Protective goggles that cover your eyes
- A professional-grade N95 mask
- Work gloves or rubber gloves if there’s a chance you may encounter liquid chemicals
Clean-up Tips 1 —Post-Renovation Clean-up Tools
Depending on the size of your renovation project, you may consider renting some equipment to make clean-up a little easier (see below).
Professionals typically rely on wet-dry vacuums, for example, to handle larger bits of debris and construction dust.
Clean-up Tips 2—Clean-up Renovation Dust Safely
Give yourself plenty of time to complete the list of steps below and consider bringing in a few helping hands.
For post-renovation cleaning, you’ll need:
- A broom or long-handled duster
- Microfiber cloth
- Plastic sheeting
Now that you’re equipped, it’s time to get started.
- Seal off any areas of your home that weren’t affected by the renovation. If the construction area is still very messy, you may even consider covering doorways with plastic to avoid spreading dust into other parts of your home. If there’s furniture nearby, cover it with plastic or a bedsheet. You should also briefly cover any vents in the area to protect your HVAC system from dust.
- Dust elevated surfaces using a broom or long-handled duster. Use your microfiber cloth to tackle places you can easily reach. This can be a time-consuming process. You’ll want to dust the ceiling, windowsills, window and door trim, and any hard surface dust might cling to, cleaning from elevated points in the room and working your way down toward the floor. The goal here is to move dust from difficult-to-reach places to lower surfaces that are easier to vacuum. It may take fine dust particles a while to settle, so after you’ve broomed and dusted high areas, wait about an hour before you clean the lower section and floor. This will also save you the time and energy of dusting twice. If you do the lower areas first, when you do the higher spots and the dust settles, you’ll have to clean the lower areas again.
- Use a wet-dry vacuum to remove dust quickly and efficiently. It may take more than one pass to remove considerable dust accumulation. Watch for nails, splinters, bits of drywall, and other debris that may have been missed by the construction crew when cleaning.
Clean-up Tips 3—The One-week Touch-up
A week later, you may need to do a second clean-up as more airborne construction dust has had time to settle. For this cleaning, you’ll rely on some of the same cleaning equipment noted above, as well as a trusty mop. Here are some other useful home renovation clean-up tips.
- While it may not be necessary, consider wearing the same personal protective equipment to avoid contact with lingering construction dust.
- Dust the area as you normally would. You shouldn’t need to cover adjacent doors or vents with plastic at this point. Read our tips for dusting efficiently.
- Use a microfiber cloth to capture the finer dust on more hard-to-reach places like bookshelves.
- Use a mop to tackle the affected floors. Be sure to use the appropriate cleaner for your flooring material.
Now that your home renovation is truly finished. Congratulations.
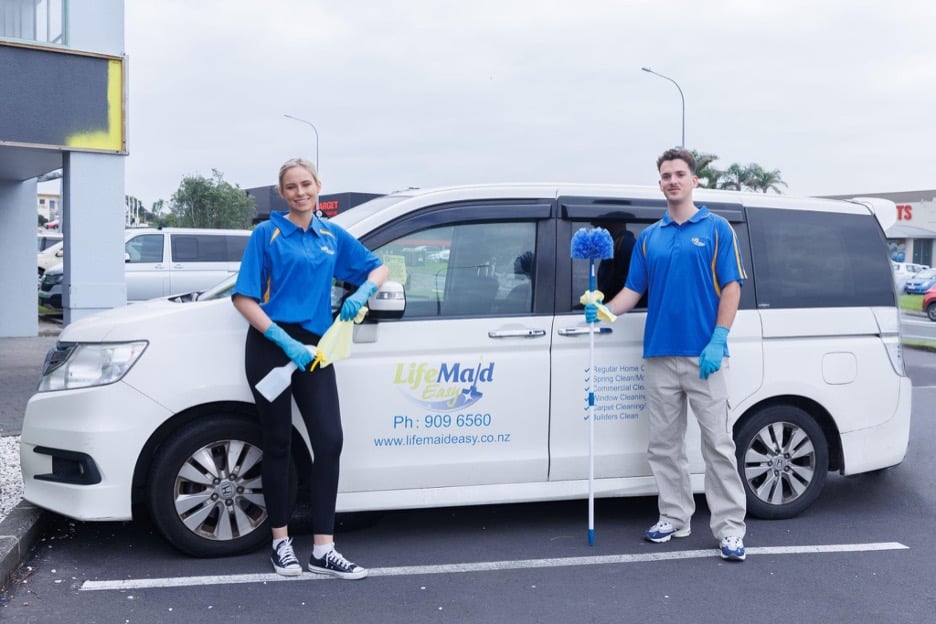
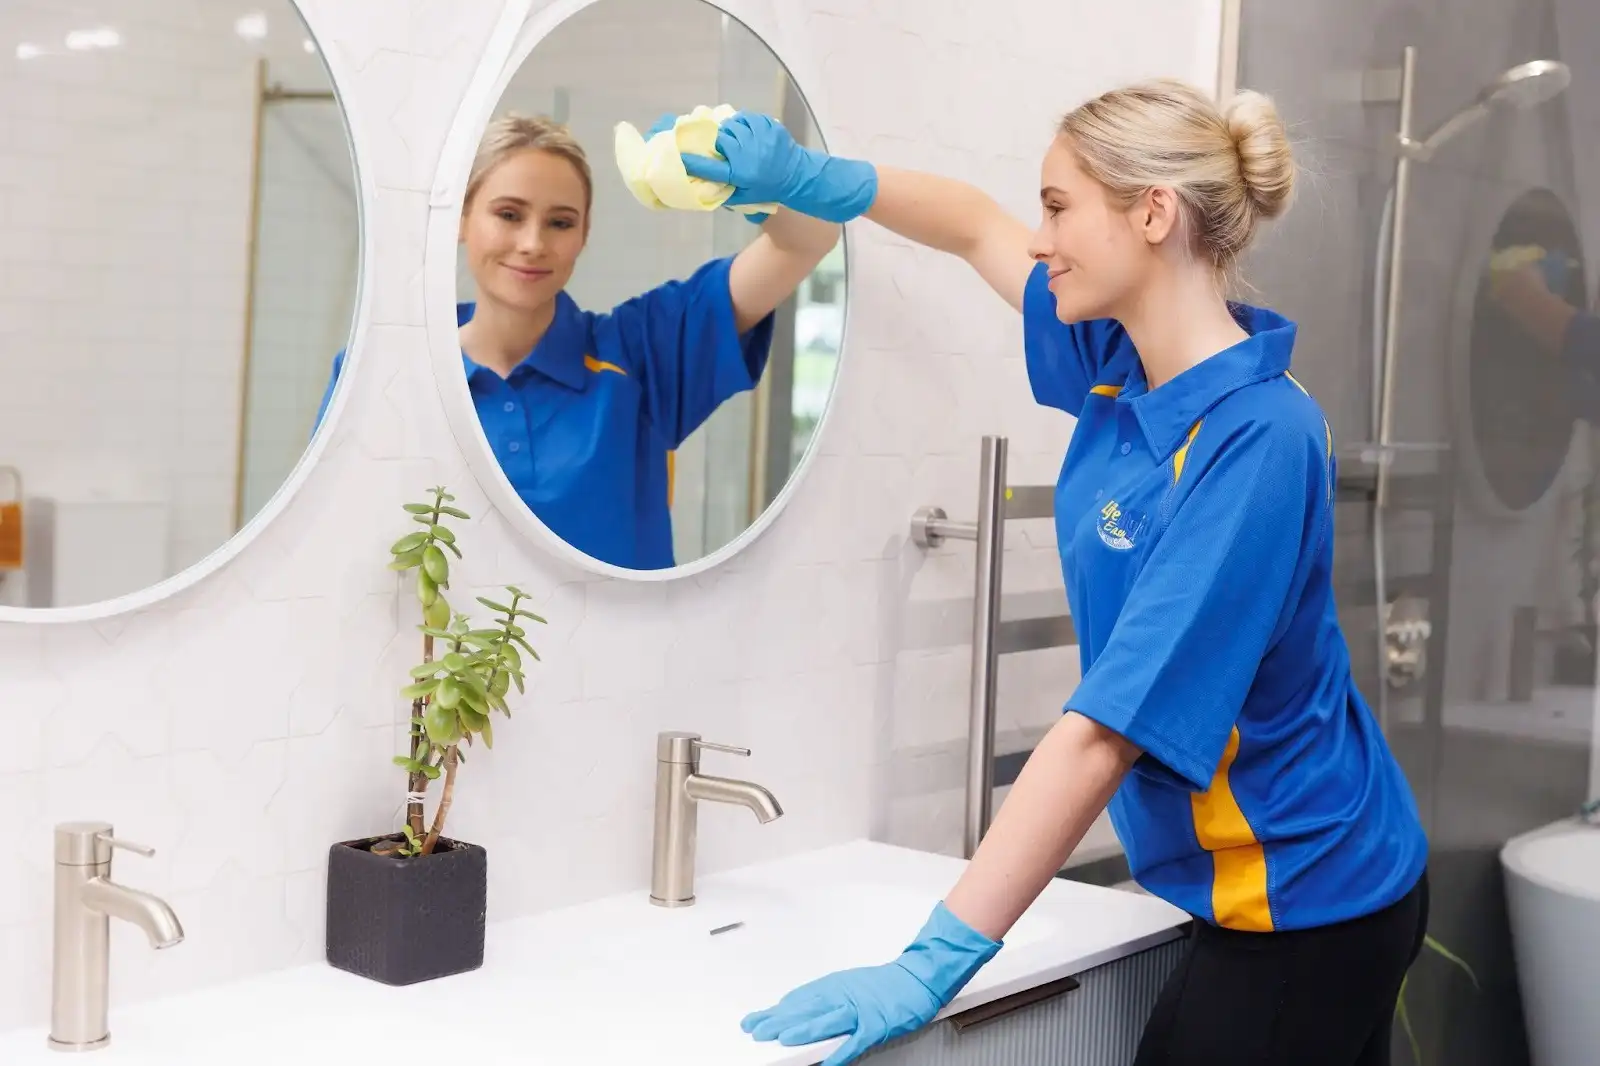
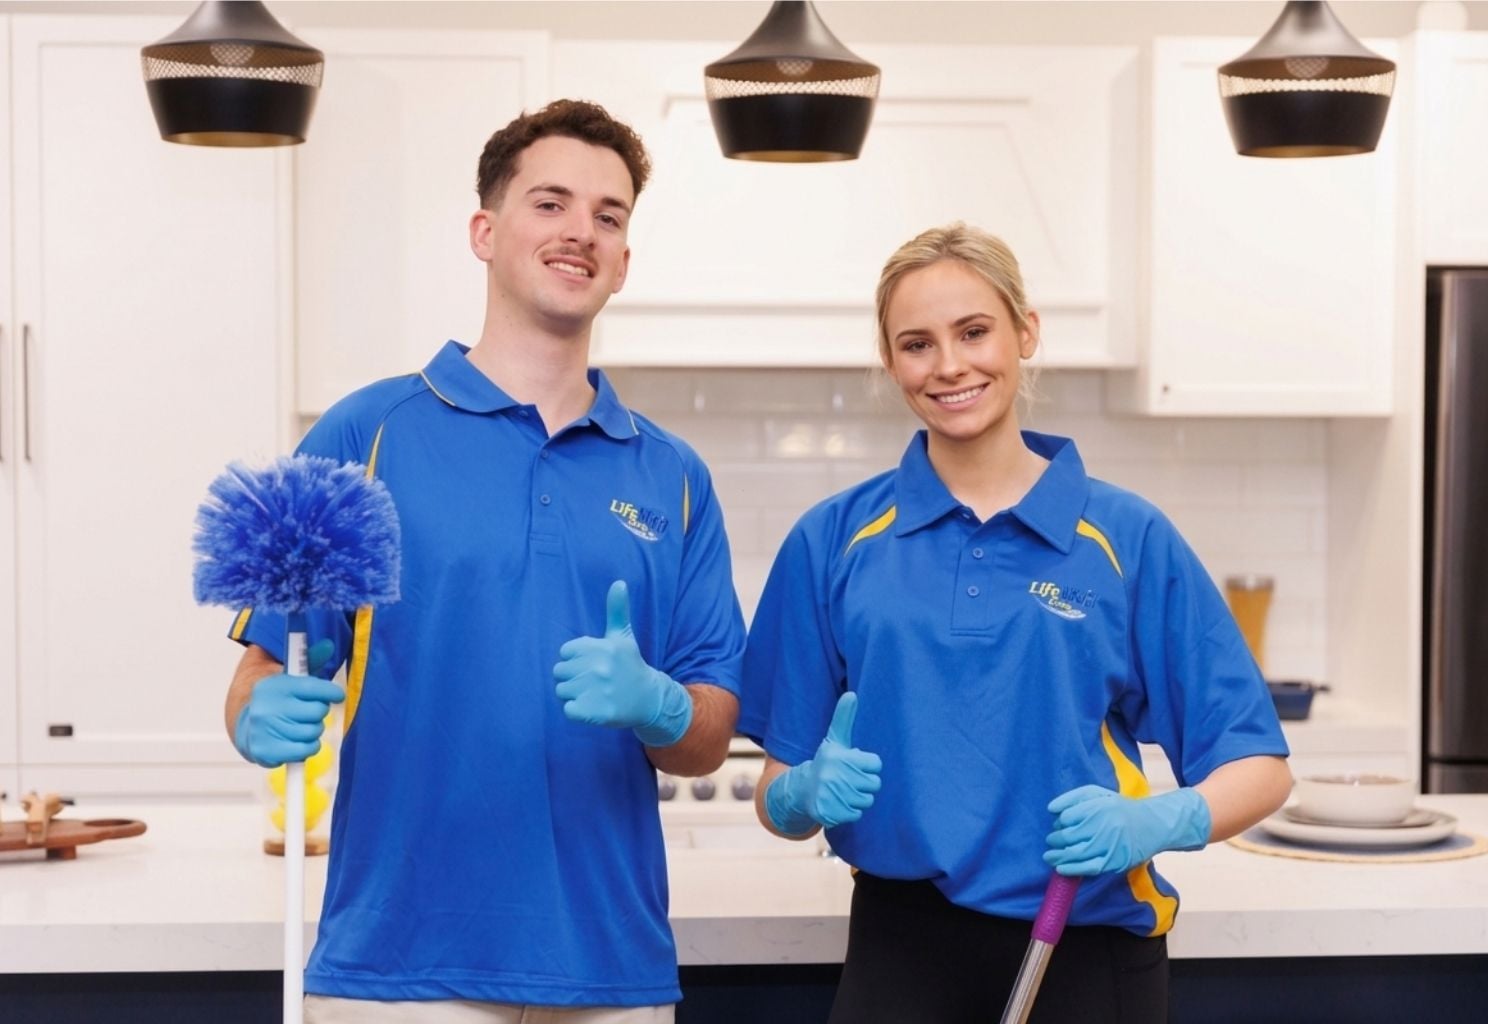
Get Professional Cleaning Help and Save Time
A renovation project can really revitalize your home space by creating a fresh, new look and feel. But you’ll enjoy your new and improved home more if it’s kept nice and clean. Life Maid Easy offers custom cleaning schedules and services that can help keep your home tidy and clean, including dusting to help remove any construction particles that might be lingering after your clean-up. To learn more or get started, give us a call (09) 909 6560 or email us to info@lifemaideasy.co.nz, we can give you a free estimate today!