How to Clean Oven
 When was the last time you cleaned your oven? Have you ever cleaned your oven? Do you hate having to dig through those nooks and crannies in order to clean your oven?
If you answered “ummm” and ” or …”no.”- you are not along!
There’s also an element of putting off the inevitable.
Put something in the oven, take it out and close the door, until the next cooking session.
Oven cleaning reminds of visiting a dentist. Only few of us look forward to that experience while most of us outright loathe it, but oftentimes, it is the thought of cleaning that is worse than the actual cleaning itself.
Dirty ovens are nuisance. They are very unhygienic and unpleasant to be around due to the smell of the oven when the burnt on fat starts to smoke.
Oven clean is not the most enjoyable task. However, with the right knowledge and cleaning tools, oven cleaning doesn’t seem like an overwhelming chore—mentally, or physically.
In this article, you will find a professional view on oven cleaning, as well as tips and tricks how to clean oven with min effort, maximum effect.
Why Is a Clean Oven Important?
 Cleaning an oven can be a tricky, time-consuming and unpleasant task involving chemicals and plenty of grease and odor.
However, failing to clean it can cause serious problems, such as
- Visible discolouration
- Damage to the oven
- Grime on the glass
- Extensive smoke output
- Fire hazards
- Reduced oven life
- Effecting the quality of meals
If you leave the food that inevitably gets spilt inside your oven as it is, it will burn. It will also, give the food you place in the oven an unpleasant smoky taste.
In the worse case scenarios, oven can catch fire.
Food residue carries germs and these germs can be passed on every time you use oven. Failing to clean oven on regular basis makes it easy for germs and bugs to breed in your oven and infect your meals.
Another big reason to clean oven is the oven itself. The filters and mechanisms in your oven can become blocked by dirt and grease, which will stop the oven from working efficiently.
If oven is left dirty for too long, those mechanisms will fail at the same time and you might need to replace the whole oven.
Although it’s obviously not the most glamorous task and it can easily be an “out of sight, out of mind” thing.
Regularly cleaning your oven improves the quality of the food you cook in it.
The smell of any stuck-on grease or dirt influence the dish you are cooking.
How Often Should I Clean My Oven?

How to use self-cleaning oven?
Remove the racks first and clean those yourself.
Switch the self cleaning function on for 1.5 – 3 hours, depending on the model.
Use a water-dampened rag or cloth, to manually remove loosened debris and ash after it finish to clean.
This saves the time and effort of getting on your knees and scouring stubborn gunk with a scrubber and also does away with the need for pricey, chemical-laden commercial cleaners.
This heat helps to melt and remove your grease and grime, but if you have a large amount of buildup, it can backfire and smoke up—and in some cases, start a fire.
If it’s been many months since you’ve given your oven a good scrub don’t risk. Roll up your sleeves and clean it manually or ask professional cleaners to help.
Then use self cleaning ones a month to maintain the condition.
Why it can be dangerous to use a self cleaning function ?
The self-clean cycle takes about two hours (exact time may vary based on your oven type) and you should stay at home while it does its job for a safety reason.
It it nothing bad about oven self clean function, there are just certain rules you have to follow and things to be aware of.
Self-cleaning ovens can produce and emit dangerous fumes into the air with an unpleasant burning smell.
These ovens reach high temperatures and produce fumes from the burning of food particles and enamel lining.
These fumes circulate within the indoor air and can affect the home occupants.
Young children and pets can be at risk of burns when the oven is in self-cleaning mode.
The front of the oven becomes very hot during the cleaning process, so children and pets should never be left alone while cleaning.
The glass oven door is also at risk of shattering when in self-cleaning mode. However modern ovens glass doors has been strengthened to make it more resistant to heat.
However, the extreme heat caused by self-cleaning can cause the glass to shatter in some circumstances.
Toxic fumes can emanate from the oven when cleaning, which can be dangerous to someone with asthma or respiratory problems.
The inside of oven is coated in Teflon, which can withstand normal oven temperatures. However, when the Teflon is exposed to extremely high temperatures it breaks down and releases fumes. Inhaling these fumes can lead to coughing, sweating, breathing issues and flu-like symptoms.
If anyone in the household suffers with existing respiratory issues, it is advised that they stay away from the oven during the self-cleaning process.
What Materials Do I Need to manually Clean My Oven?
 The knowledge about why it is important to keep oven clean and how often you need to the clean oven is not enough for an excellent result.
Products and tools you use are also vital for success in oven cleaning.
What is the best oven cleaner?
- The supermarket oven cleaner: This is the easiest, fastest process and will remove serious amounts of grease and grime. Oven cleaner can be quite caustic, so if you’re sensitive to harsh chemicals or prefer an all-natural approach, you may want to choose option 2 or 3 below.
- Backing Soda based, natural, environment and human friendly oven cleaner: Mix baking soda, water, vinegar in a spray bottle. It should look like a paste. Apply the paste and leave it on 10 – 12 hours (or overnight), so make sure you give it enough time. This DIY tip is a great if you have lots of buildup.
- Lemons and water based cleaning solution: Mix the juice of 2 lemons and warm water, scrub your oven and leave it for about 1 -2 hours; Wipe with wet cloth after. This is another great DIY option, for an average ditry oven and if racks don’t need a cleaning.
What materials and tools you must have to clean oven?
1. Rubber cleaning gloves
Please no disposable gloves. This is especially important if you go with option 1, as you’ll want a heavy-duty barrier between your skin and the cleaning chemicals.
Use the proper gloves for cleaning.
2. Protective safety glasses and mask
You will need protective safety glasses and face mask if you go with option 1 : Clean with store or supermarket cleaner.
You won’t need these with options 2 or 3 or any other natural home made cleaning solutions.
3. Old newspapers or paper towels
You will need newspapers, old towel or paper towels to pad the floor around your oven, in case anything drips out while the cleaning.
4. Damp cloth
You will need a damp cloth to wipe off the grime once the cleaner has been applied. You may need more than one if your oven is very grimy.
5. Scouring pumice or microfiber sponge (optional)
It will be helpful if you’re tackling lots of buildup.
How to Clean Oven With Supermarket Cleaning Products
 Step 1 : Remove everything from your oven—racks, pizza stone, thermometer
Step 2: Lay out newspapers or paper towels on the floor
Step 3: Put on your gloves, face mask and safety glasses. Spray the oven cleaner around the inside of your oven, covering the back, top, bottom, sides, door, corners and crevices.
If you have an electric oven, don’t spray on the heating elements. Simply lift them up and spray underneath.
If you have a gas oven, don’t spray where the gas comes through.
Step 4: Let the spray sit for the time listed on the label (usually 20 – 30 minutes)
Step 5 : In the meantime, take your oven racks outside, spray the racks with the cleaner and place them in a sink. Leave racks in the sink for the time listed on the cleaning label (20-30 min).
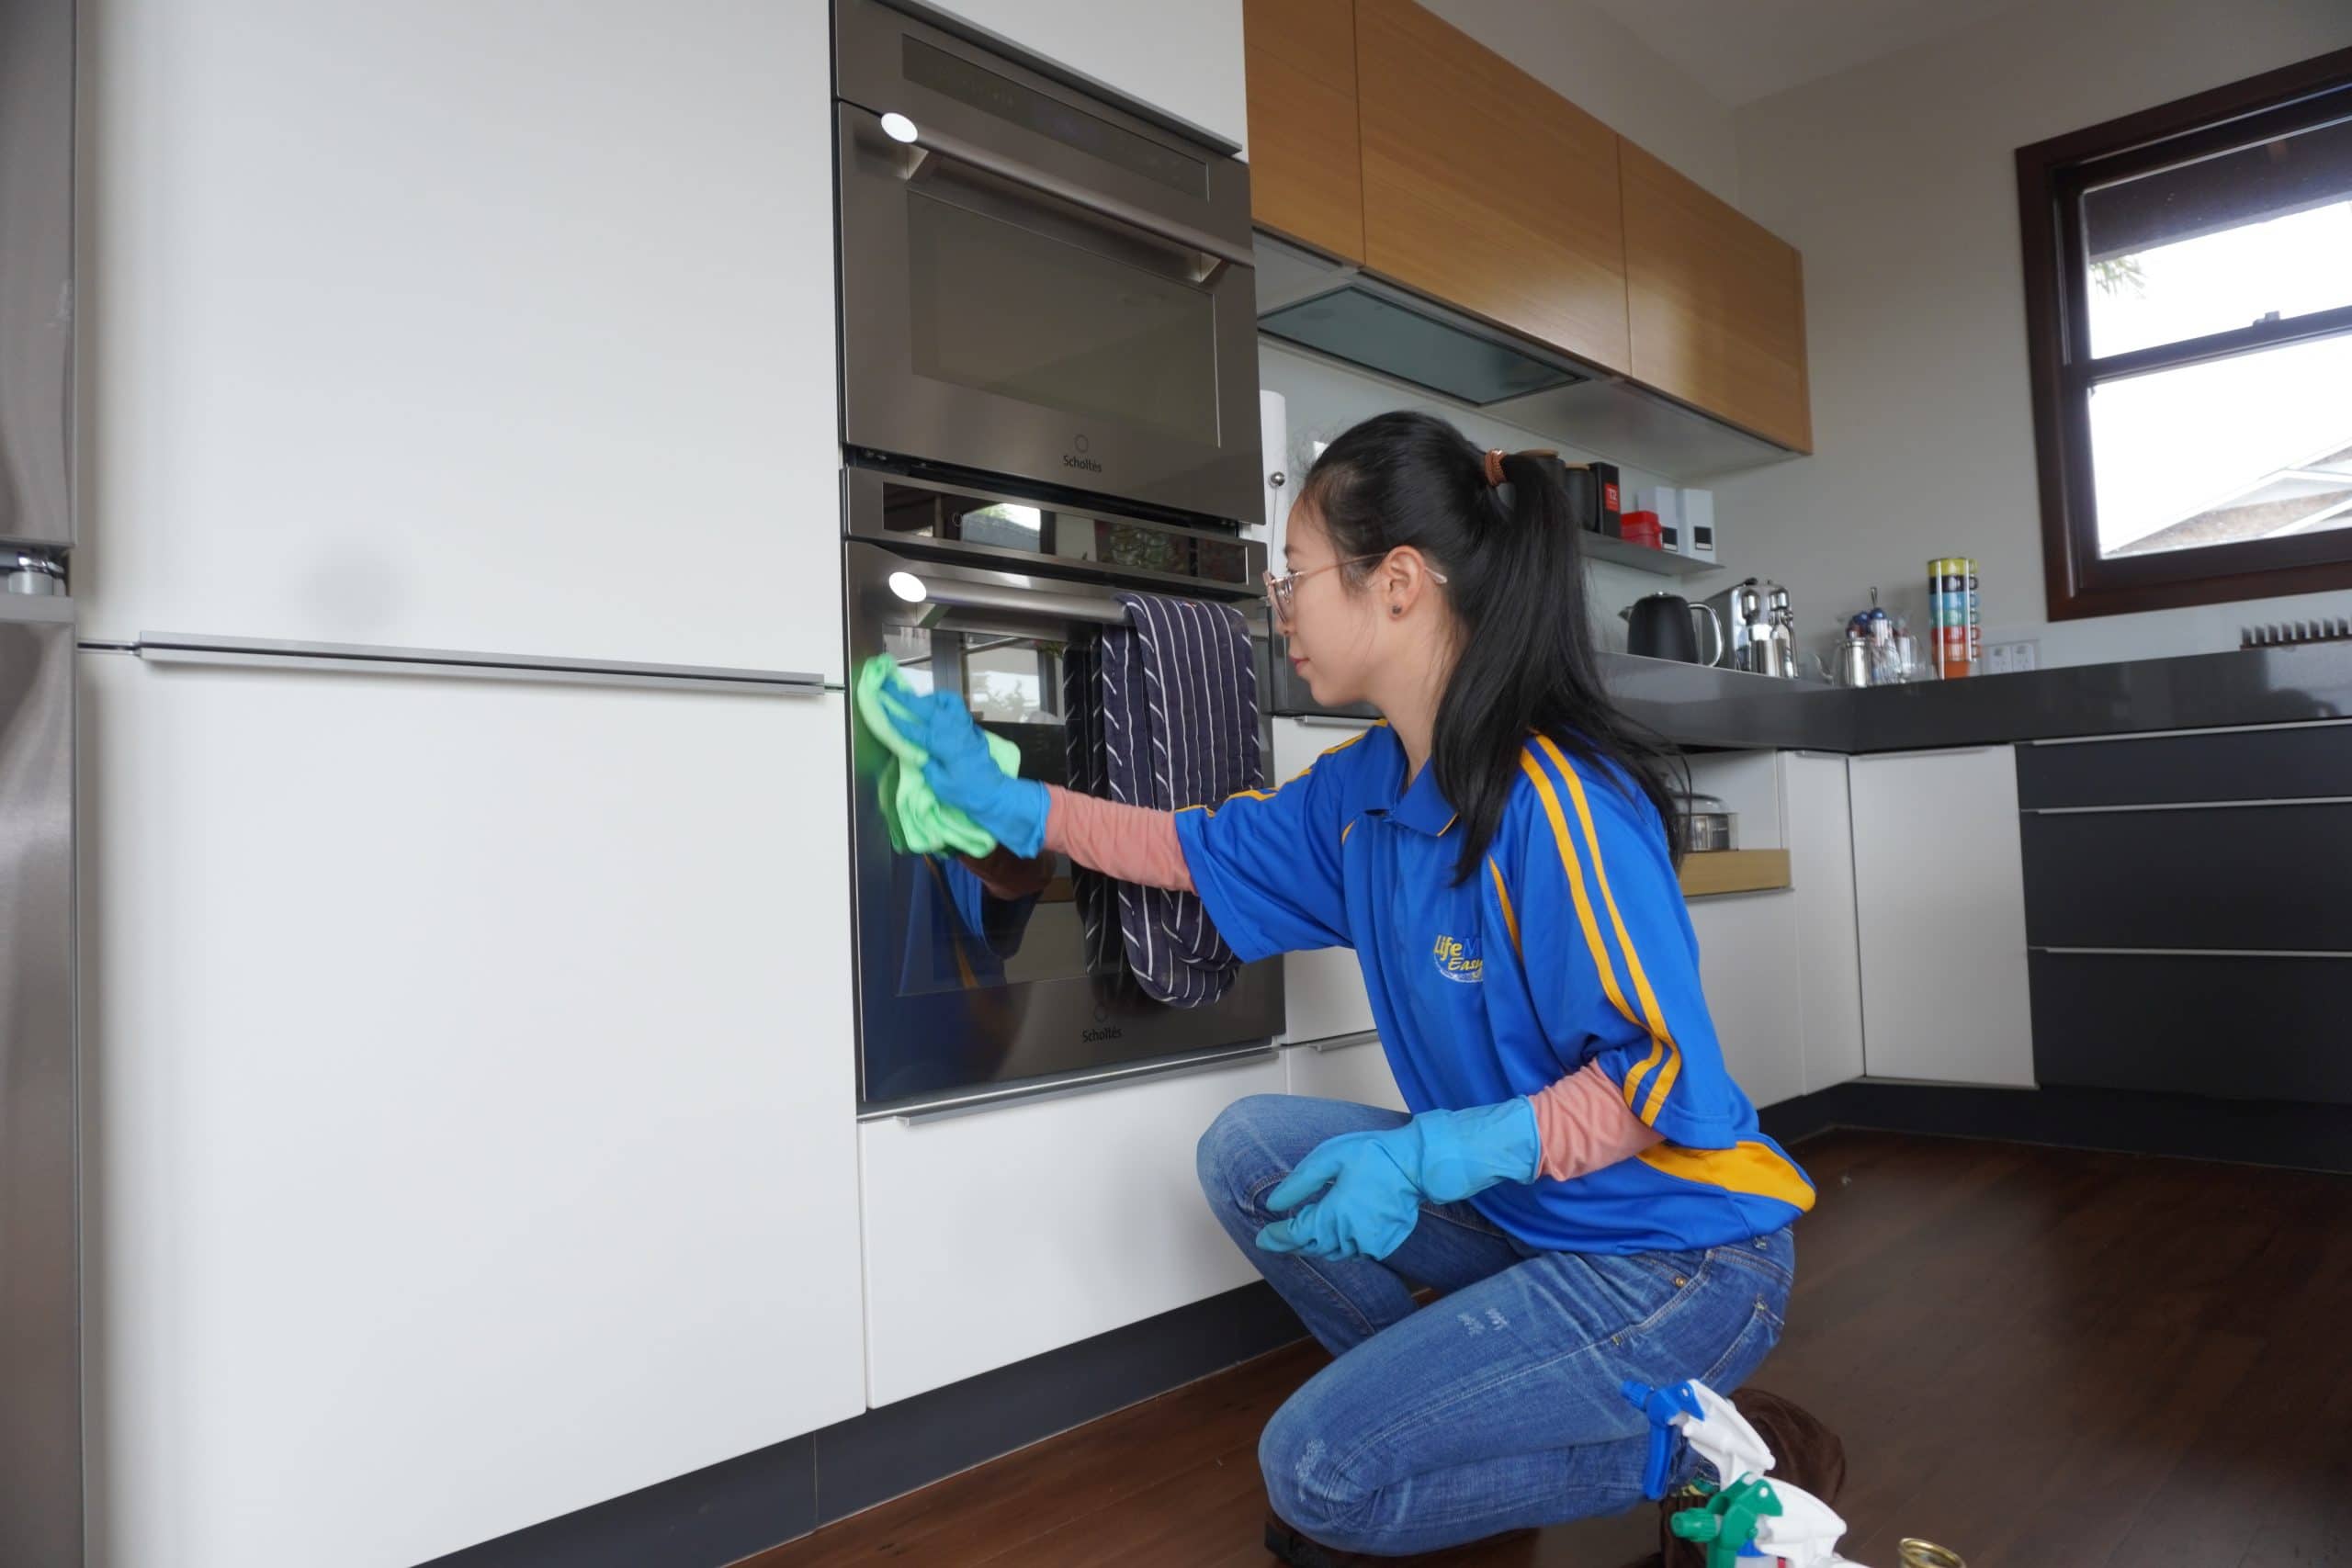
Step 6: Once the time has passed, take a damp cloth, open the oven and wipe down all surfaces.
If there are extra sticky spots left, use a wet microfiber sponge or other abrasive tool to remove all grime.
Be sure to really hit every crack and crevice so that you aren’t leaving any traces of dirt or oven cleaner behind.
Step 7: Scrub and wash racks with hot water. Again, use a sponge or other abrasive tool as needed on any crusted-on chunks. Dry racks and place them back in the oven.
How to Clean Your Oven With Baking Soda and Vinegar
Step 1: Remove everything from your oven—racks, pizza stone, thermometer, etc.
Step 2: Lay out newspapers or paper towels on the floor beneath your oven.
Step 3: Grab a small bowl and mix a 1/2 cup of baking soda with 2 to 3 tablespoons of water. Tweak the ratio until you have a spreadable paste.
Step 4: Put on your gloves and using your fingers, spread the paste around the inside of your oven, covering the back, sides, bottom, top, door, corners and crevices. If you have an electric oven, don’t put paste on the heating elements. If you have a gas oven, don’t put the paste where the gas comes through. .
Step 5: Allow paste to sit for 10 – 12 hours, or overnight.
Step 6: In the meantime, place racks in your kitchen sink (or bathtub, if you have extra large racks). Sprinkle baking soda on your racks and then pour vinegar on top. This combination will foam. When the foaming stops, plug your sink or tub and run hot water until the racks are fully covered.
Step 7: Allow racks to sit for 10 – 12 hours, or overnight.
Step 8: After 10 – 12 hours, put on your gloves again and taking a damp cloth rag, open the oven and wipe down all surfaces. If there are extra sticky spots, use a wet scouring pumice, microfiber sponge, or other abrasive tool to remove all grime.
Step 9: If there are chunks of paste that won’t come off easily, put some vinegar in a spray bottle and spray it on the chunks. The vinegar will react with the baking soda and foam. Take your damp cloth again and wipe off all foam.
Step 10: Remove racks from the water and scrub with a cloth rag. Use the pumice or microfiber sponge on any tough spots.
Step 11. Dry racks and place them back in the oven.
Option 3: Step by Step Instruction: How to Clean Your Oven With Lemons
 Step 1: Fill a medium-sized, oven-proof mixing bowl with water. Cut two lemons in half and place them in the bowl.
Step 2: Heat your oven to 250 degrees.
Step 3: Once heated, place the mixing bowl inside on one of the racks. Leave for one hour.
Step 4: After an hour, turn off the oven, open the door and let it cool slightly.
Step 5: While the oven is still warm (but cool enough that you are able safely touch the inside without getting burned), put on gloves, take a damp cloth and wipe down all surfaces, including the back, sides, bottom, top, door, corners and crevices.
You can also use a wet scouring pumice, microfiber sponge or other abrasive tool to target any hard spots. Be sure to wipe thoroughly so that you remove all grease and grime.
The secret to cleaning your oven without breaking a sweat and risk
 Oven cleaning is a “kind of out of sight, out of mind” mentality.
There’s also an element of procrastination. People delay it so long they make it such a miserable task.
So maybe it’s time to take a look at that oven and face the challenge. After you finish cleaning, you will be so proud of yourself.
The oven will look and smell clean.
Take preventive measures, and make the job easier
 The easiest way to clean a dirty oven is to not have a dirty oven.
If you’re baking a pie or something that risks bubbling over, use a baking sheet to catch any potential drips.
If something does spill, try to clean it as soon as you can. Don’t clean a hot oven, you can get a burn, but going in while there’s still a little residual heat can make the cleanup easier.
Another tip is to place a hot, damp towel over a spot to loosen burnt-on debris. Then wipe off or remove with a scraper.
You can find lots of articles about cleaning tips online.
However, there’s no exact rules or cleaning schedule that works for every person.
How often you need to tackle the oven depends on how often you use it, what you’re cooking and how conscientious you are in your routine maintenance.
Ask professional cleaners to help
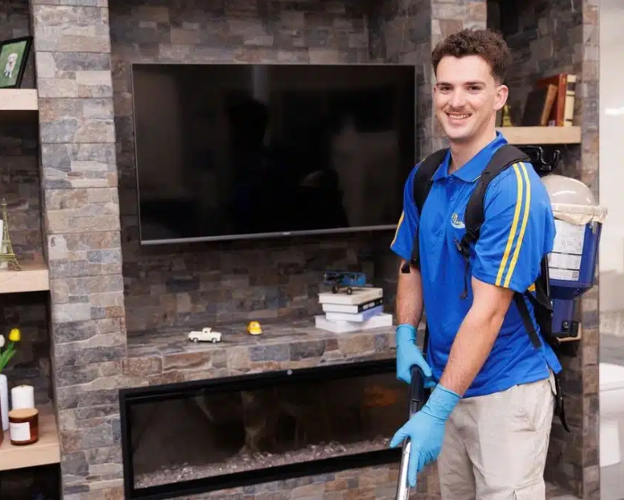
 If you don’t have time to clean the oven or if you just hate it like most of us, don’t procrastinate and risk your health. Ask cleaners or cleaning service to do it for you.
Call today for an estimate or cleaning advice (09) 909 6560 or contact us via email : info@lifemaideasy.co.nz
Get a safe and reliable service from Trustful Auckland Cleaning and maid service
Bonus Oven cleaning tips
Homemade cleaning solutions to clean oven
* The recipe below will work on medium dirty oven
Recipe #1:
- Baking soda (3 tablespoons)
- Water (1.5 tablespoons)
Mix together baking soda and water. Apply to oven, let sit for 20 minutes, wipe clean.
Recipe #2:
- 3 tablespoon of baking soda
- 1 tablespoon of hydrogen peroxide
- 1 tablespoon of dishwashing soap
Mix baking soda, hydrogen peroxide, and dish soap. Apply to oven, let it sit for 20 minutes, then wipe clean.
To find more natural homemade cleaning solutions check out the article: HOMEMADE CLEANING SOLUTIONS THAT WORK